As I continue to explore more historical periods to make new figures it occurred to me that largely the defining shape of a model soldier is its' hat. With that idea in mind I decided to explore how to make different hat shapes.
I have been thinking about using the Peter Pig's
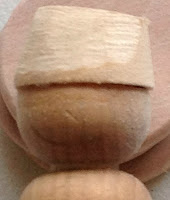
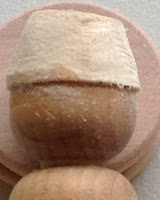
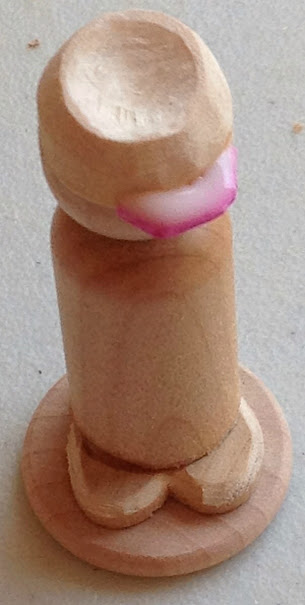
AK-47 rules to run a fictitious campaign in modern (1970's) Africa. The idea is to make two different hats, one for one side and one for the other, in order to easily distinguish each side. (The base uniform color will also be a distinguishing feature.) The first side will have a field cap that looks a cross between a Marine barracks cover and an old Afrika Korps field cap. As I want the creation of it to be minimalist I have decided that the cap's peak will be painted on rather than made as a separate piece as in my Napoleonic shakos.
The cap is made by making one straight cut with a miter saw then making the second cut at 15°. By gluing the back edge of the cap as close to the back edge of the figures head, the front of the cap sticks out as a peak would.
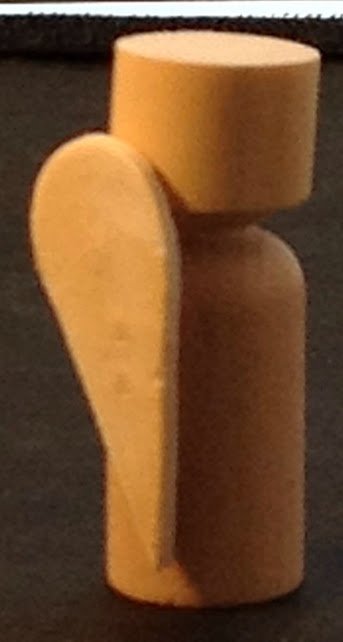
The other side will wear a beret. This is essentially made the same as the hat above, except you use a dowel one size larger than the diameter of the figure. I also cut the piece thinner then I did the hat above.
When gluing the beret to the figure the high side is glued to the left side of the figure's head. This makes the low side stick out on the right in an exaggerated fashion. I then use my Dremel sander to shape the beret taking the hard edges off and thinning out the right side as much as possible.
It is also important to rough up the top of the beret, where the cut is made, as this is usually smooth and glossy.
Be sure to flatten out the front and back of the beret. It should be oval, not circular. The front and back of the beret should be flush with the head; only the right side should overhang.
I use the sander to curve the top of the beret, to round it out. Keep working it until it looks right.
Don't worry about it not being consistent. I work with the US Army – where the beret is standard issue now – and they all wear the just a little bit differently. Some "punch them out", some slick them down to follow the curve of their head, and some have them stick out. Then there is the angle that you wear it at. All this variation just makes it more realistic and gives the figures a certain charm.
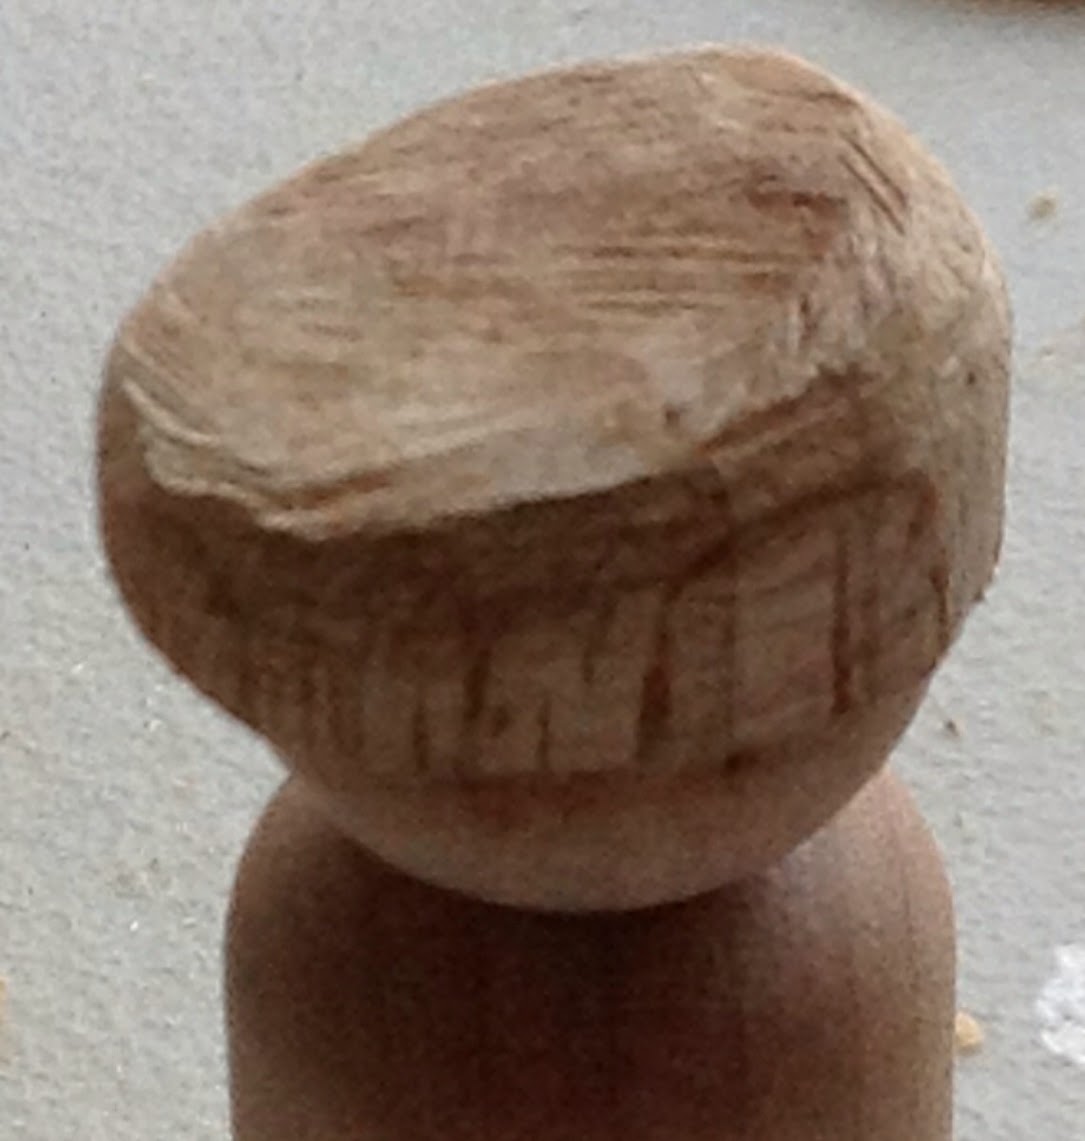
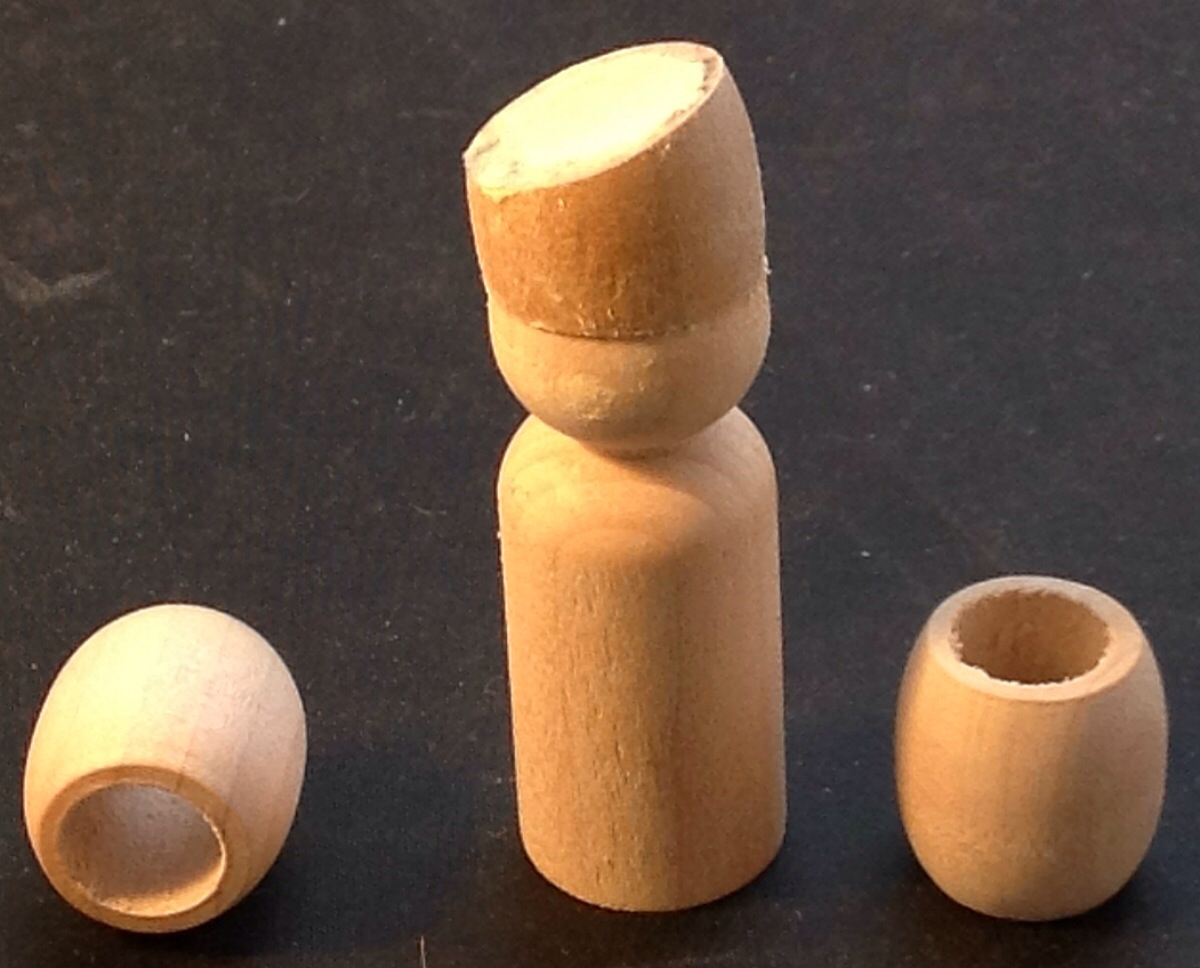
Moving back to the Napoleonic period, I wanted to make an Austrian Grenadier's hat. Previously, when I have made Grenadier's hats, I simply used a dowel and cut it appropriately. This is good for a French Old Guard Grenadier's bearskin but less so where the shape needs to be more rounded, or barrel-shaped.
Here I took a barrel bead and cut off the top with a 15° miter saw cut. I then filled the hole with carpenter's wood filler. Later, this will receive a peak, as with a Napoleonic shako.
The first wooden soldier project I ever did, as a kid, was to create medieval knights using beads. Here I created a Crusader knight with a barrel helm. I simply cut a length of dowel and attached it to the figure, which had the majority of the head removed with a miter saw.
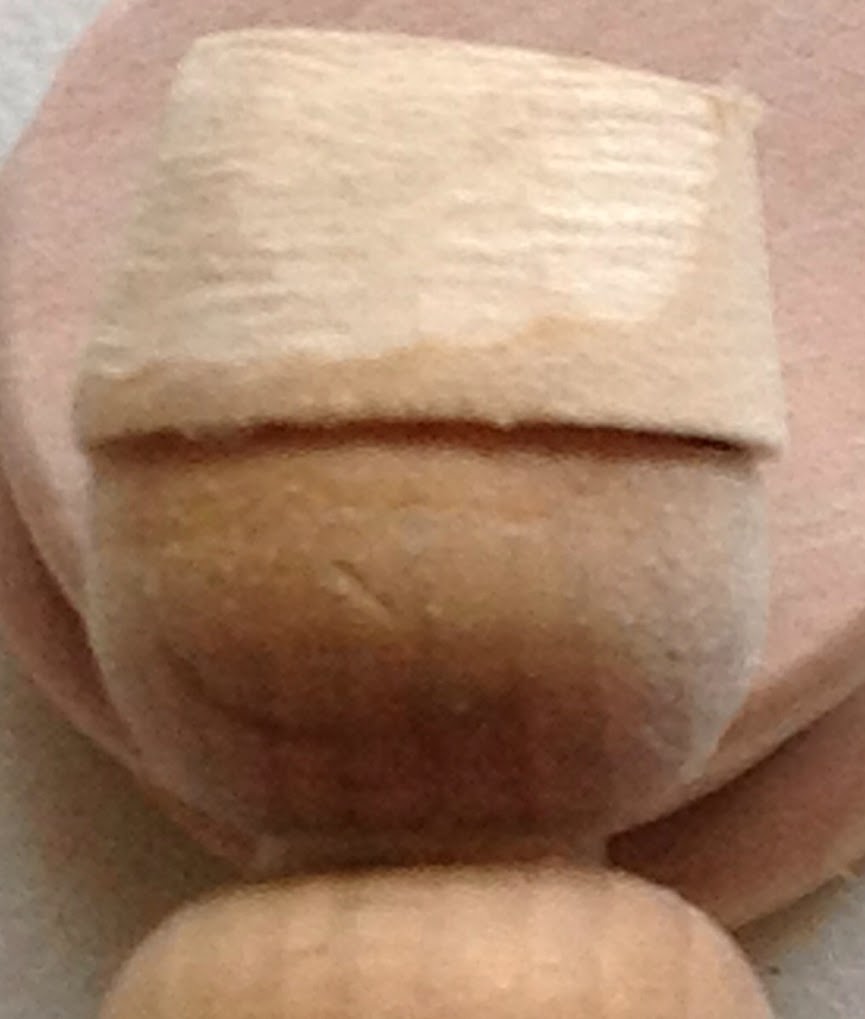
As the Dark Ages are becoming very popular right now I started exploring ways to represent simple round metal helmets. You could simply paint the head of the basic figure as if it had a helmet on it, but it does not look exactly right. Most helmets are slightly taller than the head itself when it is not covered. To achieve the correct effect I simply removed a portion of the head and inserted a thin slice of dowel in between the figure and the top. You can either keep the thin slice as is and paint it as a band on the helmet or you can sand the edges down in order to make it a smoother shape.
The figure shows an example where the helmet is smoothed and filled.
With the addition of a front and back peak, this is probably the best way to create a picklehaube.
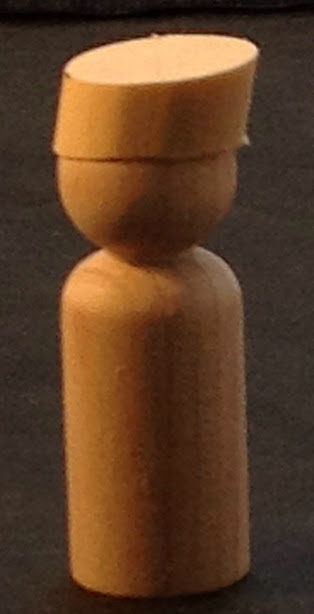
I started all of this because I was looking to create a few figures for an ACW skirmish game. Of coarse the most common hat in this period is the kepi.
For this I started with the same pattern as the first hat. The difference is that I glued the high end flush to the back of the figure's head.
I then shaped the hat so that the cylinder of the kepi "falls forward", which was the style worn during the ACW. I also sanded a little "dimple" in the top of the kepi to give the crown more definition.
The images below show the sequence of creating the kepi; simply sanding with a Dremel. I make the angle sharper on the back than on the front, but as with the beret, historically the kepi was worn in all manner of form.
The last image shows the method of adding the dimple. I use a round burr bit to remove most of the material, then follow up with a much smaller sanding bit to smooth out the roughness.
 |  |  |  |
| Shape the Back | Shape the Front | Ensure Top is Even | Add the "Dimple" |
I am now experimenting with using foam for the cap peaks. It is not that the wooden ones do not look good, but that they are so time consuming to make. (Not to mention that I tend to sand my fingertips when trying to shape very small bits.)
 |  |
| Add a Foam Peak | Trim and Cover with Glue |
An interesting variation of the kepi is to make two parallel 15° cuts with the miter saw so that the front
and back of the hat is sloped forward. This shape is very similar to a German police officer's cap in the late 19th century and is also reminiscent of a German Jager shako in the Franco-Prussian War.
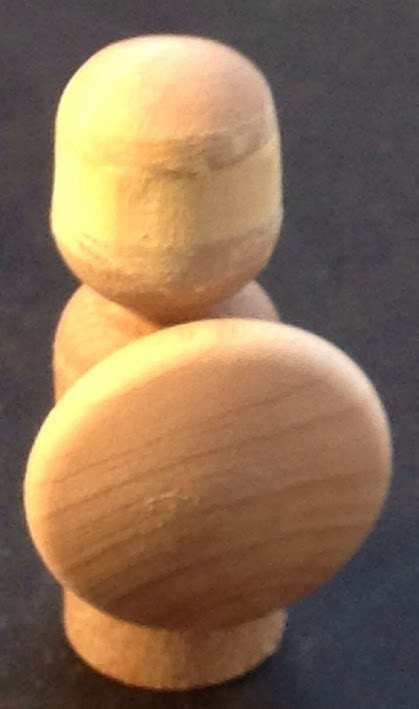
The last figure is a Zouave in turban (or a Sikh, or any number of Asians that wear turbans). This requires you get a "beehive" bead and carefully cut it in half.
To make the turban look a little better, you need to cut the top of the figure's head at a 15° angle so the turban is high on the forehead and low on the back of the neck.
For Indian turbans, like Bengal lancers, you can add a foam rectangle to the back to represent the end hanging down.
Well, I hope you have found this instructive. My next project is to show how to make small accessories that are hard or tedious to duplicate in wood, such as an assault rifle (to go with my beret-wearing African troops).
See you next time!


The first Dark Ages figure where the dowel hasn't been smoothed down, could also be used as a commando type. The ring looks like a knit watch cap. For example http://www.dropzonetactical.com/headwear/watch-cap/watch-cap.php
ReplyDelete